How to Create an Email Newsletter Step-by-Step (Beginner’s Guide)
 Stacey Corrin
Stacey Corrin
Stacey Corrin
 John Turner
John Turner
John Turner

TL;DR: How to Create an Email Newsletter
To create an email newsletter, you need an email marketing service, a subscriber list, a sign-up form on your website, and a campaign template. Here’s the full process:
- Plan first – decide who you’re writing for, what you’ll send, and how often before choosing a platform
- Choose a platform – Constant Contact is beginner-friendly; Brevo is free; Drip suits eCommerce
- Create your subscriber list – set up a named list in your email platform before adding contacts
- Add a sign-up form – use WPForms to embed a newsletter form on your WordPress website
- Send your first email campaign – pick a template, customize it, and schedule your first send
- Grow and track – add multiple forms, run a giveaway, and monitor your open and click rates
I signed up for my first email marketing account and spent 45 minutes clicking around before I found where to create a campaign. The dashboard looked nothing like any tutorial I’d seen.
If you’re setting up a newsletter for your food blog, small business, or local service, it doesn’t have to take that long. I’ve tested more than a dozen email platforms over the years, and I’ll show you how to create an email newsletter step by step using tools that actually work.
What Is an Email Newsletter?
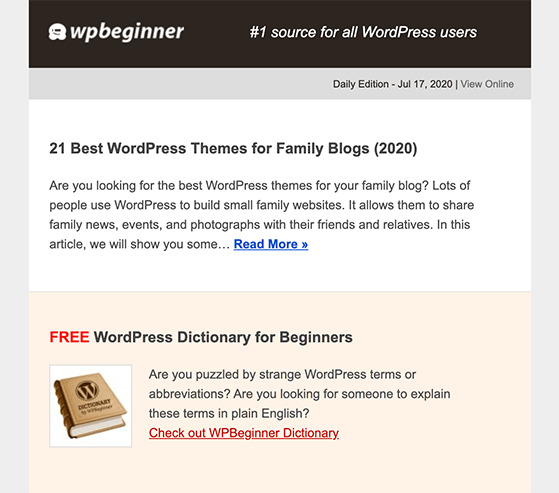
An email newsletter is a type of communication that lets you send tips, news, updates, and other pieces of content about your products or services to your contacts. They’ll receive your newsletter in their email client’s inbox, such as Outlook or Gmail.
To receive your company newsletter, people need to join your mailing list by giving you their email address. Those people are referred to as email subscribers, contacts, or leads.
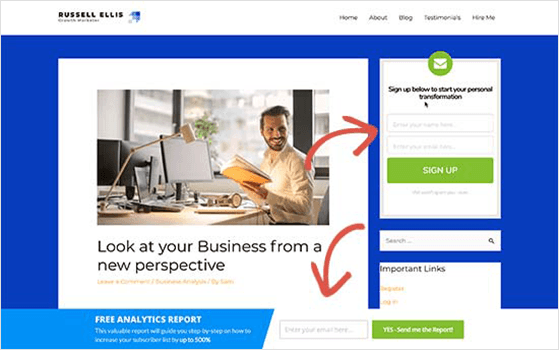
Here is a newsletter example from WPBeginner to show you what I mean:
Why Should You Start An Email Newsletter?
Many companies use email marketing campaigns in a variety of ways. For instance, bloggers may use newsletter content to tell readers about new blog posts. Similarly, businesses send newsletters to tell their list about new products, company updates, and other content to boost website traffic.
The internet’s problem is that it’s so huge that many people visiting your website today will never visit again.
Creating a newsletter will let you turn your target audience into subscribers. And once they join your newsletter, it’s easier for you to reach them and bring them back to your website. It also helps you gather metrics about your audience to improve sales.
Bottom line: You’re missing out on potential subscribers and customers daily without an email newsletter.
Free: Download Our Giveaway Playbook
Templates, prize ideas, and promotion strategies in one guide.
How to Create an Email Newsletter Step-by-Step
Now that you know the importance of having an email list, how do you create an email newsletter? Follow the easy steps below to learn how to create the best email newsletter campaign to boost your digital marketing efforts.
Step 0: Plan Your Newsletter Before You Build It
Before you pick an email platform or build a sign-up form, spend five minutes on your newsletter strategy. I’ve seen plenty of newsletters go quiet after three issues because the sender had no clear plan for what to send or who to reach.
These are the four decisions that matter:
- Who you’re writing for – pick one specific reader, not a broad category
- What you’ll send – one main topic per email, your own perspective over product updates
- How often – weekly or biweekly works for most beginners; daily is usually too much
- What subscribers get from it – a useful tip, a behind-the-scenes look, or a curated resource
Once you know your audience and what you want to send, picking the right email tool is straightforward.
Step 1: How Do I Choose the Right Email Marketing Service?
The right email marketing service handles delivery so your newsletters reach inboxes instead of spam folders. Email marketing services are designed to help you collect email addresses and bulk send emails to your list.
There are so many email marketing tools to choose from; it is difficult to know where to start. More so, when email marketing software offers different features.
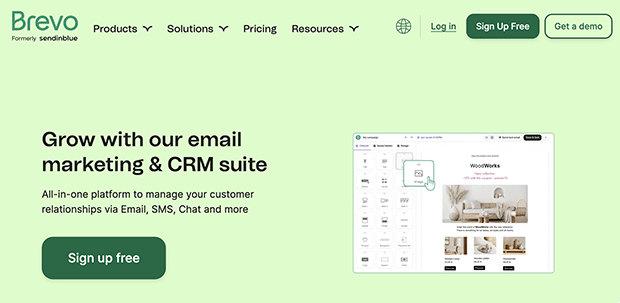
I tested Brevo when I was looking for something simple with solid automation. It’s not flashy, but the free plan gave me everything I needed to send newsletters to a small list without paying upfront.
I’ve used Constant Contact with several beginner clients, and the support team was quick to respond any time we hit a snag. The guided setup and phone help made a huge difference when we were under pressure to launch fast.
When I helped set up email for a WooCommerce shop, Drip‘s automation flows and tagging system made it easy to segment buyers and send follow-ups based on behavior. It took a little time to learn, but the results were worth it.

You can also check out this post for some Drip integrations.
| Email Platform | Best For | Free Plan | Starting Price |
|---|---|---|---|
| Constant Contact | Small businesses & beginners | ✅ | $12/month |
| Brevo (formerly Sendinblue) | Budget-friendly email marketing | ✅ | Free plan available |
| Drip | eCommerce & automation | ❌ | $39/month |
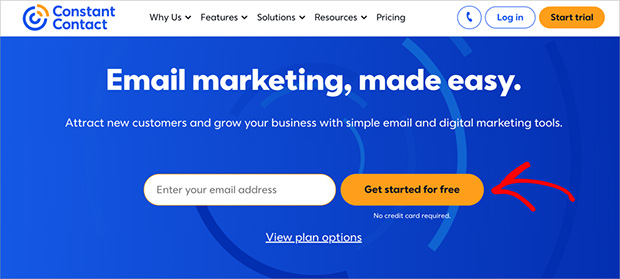
In this guide, we’ll be using Constant Contact to create an email newsletter design. They’re one of the most popular email marketing services globally and have the best support for helping people get started.

Constant Contact’s email marketing platform is completely beginner-friendly. It offers drag and drop functionality to help you quickly create any type of email design. They also have eye-catching newsletter templates, marketing automation, advanced list growth apps, support for mobile devices, and more.
To get started with Constant Contact, you first need to visit their website and click on the sign-up button (they have a free trial that you can cancel any time, and no credit card is required).
After clicking the button, it takes you to a page where you can enter your details and create a password.
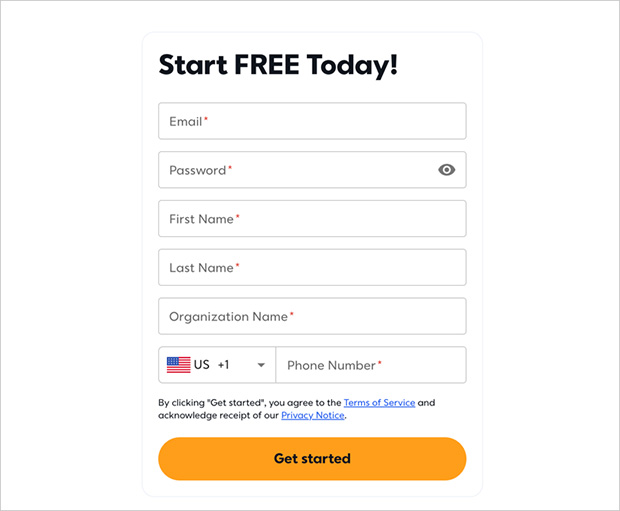
When you’ve entered your details, click Get Started.
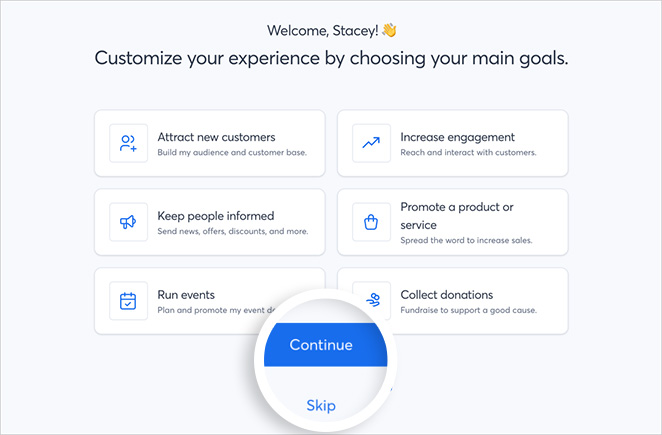
After completing the sign-up process, you’ll be redirected to Constant Contact’s guided setup. Click the “Skip” link at the bottom of the page, as we’ll show you how to set your list up later in this article.
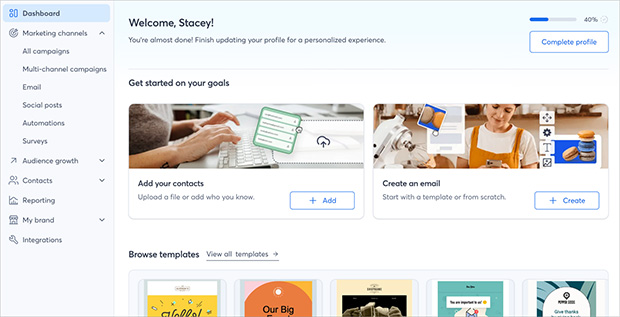
You’ll see the Constant Contact dashboard, where you can manage your email list, subscribers and create a new newsletter.
Author’s Note: After signing up for Constant Contact, I got a surprise call from their support team offering a free onboarding session. The person I spoke to walked me through everything and answered all my questions. It made the setup feel a lot less intimidating.
Step 2: How Do I Set Up My Email List?
Your subscriber list is where all your contacts live, and setting one up in Constant Contact takes about two minutes. It keeps your contacts organized, so let’s look at creating your first list.
First, click the Lists and Segments link in the left-hand sidebar.
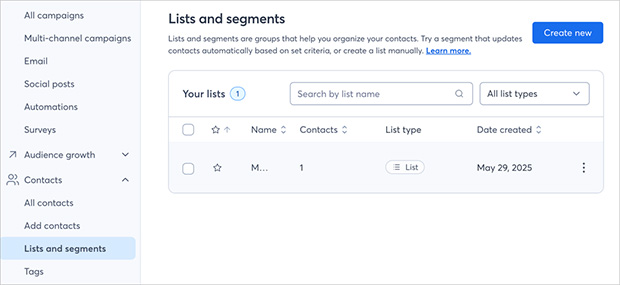
This page shows all your current email lists. At the moment, you should only see the default list created by Constant Contact titled “My Contacts.”
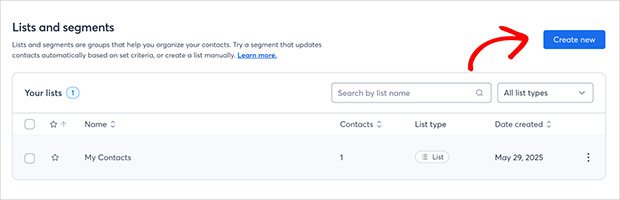
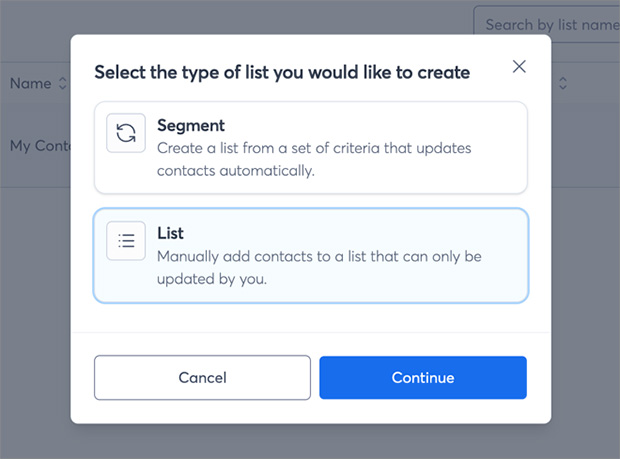
Click the Create New button to create a new email list.
Next, select the “List” option which allows you to manually add new contacts.
From there, give your list a relevant name, preferably one that’s easy for you to recognize, then click Save.
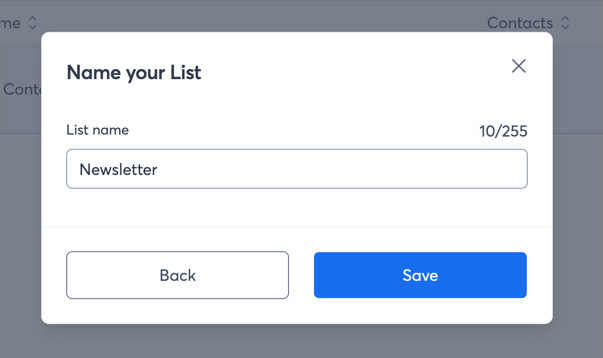
Constant Contact then creates your new list and adds it to your dashboard.
To start using your new email list, you need to add at least 1 contact. You can do this manually by clicking the Add Contacts link in the left-hand sidebar.
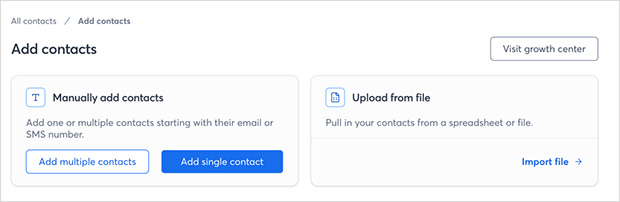
Here, you can either add multiple or single contacts, or upload a spreadsheet of your existing subscribers. Choose the Add single contact option to continue.
The next screen lets you add the contact information of your subscriber. You can enter your email address here to test your email campaigns.
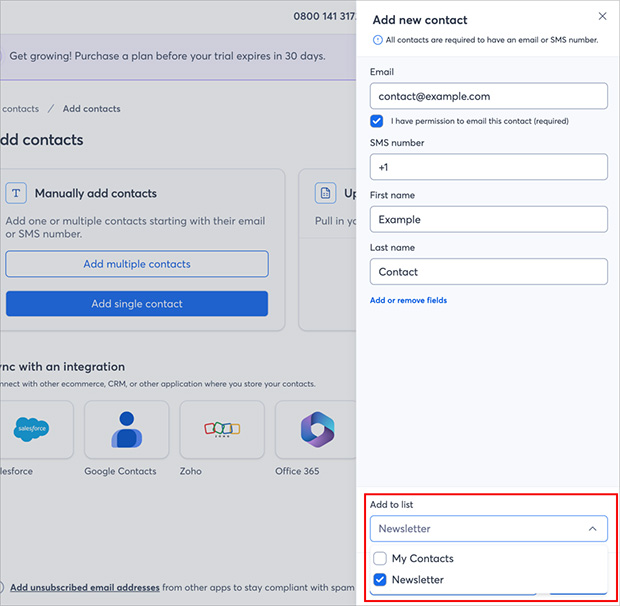
Once you’ve entered the contact information, click the dropdown menu and select your new email list. This will add your contact to the email list you just created.
Before adding contacts, make sure they’ve agreed to receive email from you. Importing or purchasing lists violates most email providers’ terms of service and can get your account suspended.
Step 3: How Do I Add a Newsletter Sign-Up Form to My Website?
A sign-up form is how visitors join your mailing list, and WPForms is the fastest way to add one to WordPress. Your email newsletter service usually offers sign-up forms you can embed on your website.
However, those forms don’t often look that good and may not fit with your website’s look, theme, and dimensions.
Let’s look at how you can easily add a sign-up form to your website. We’ll show you a few methods, and you can choose which one best suits your needs.
Method 1: Add a Newsletter Sign-up Form Using WPForms
WPForms is the most popular drag and drop form builder for WordPress. The free Lite version of WPForms comes with built-in Constant Contact integration, so you can connect your form to your Constant Contact list and build it without needing technical know-how.
WPForms also integrates with Mailchimp and Drip and includes GDPR settings. For more details on this plugin, check out our in-depth WPForms review.
First, you need to install and activate the WPForms WordPress plugin. If you need help, you can check out this guide on how to install a WordPress plugin.
Once you’ve activated the plugin, navigate to WPForms » Settings, and click the Integrations tab.

You should see the Constant Contact integration option near the top of the list. Go ahead and click that option and click Add New Account.
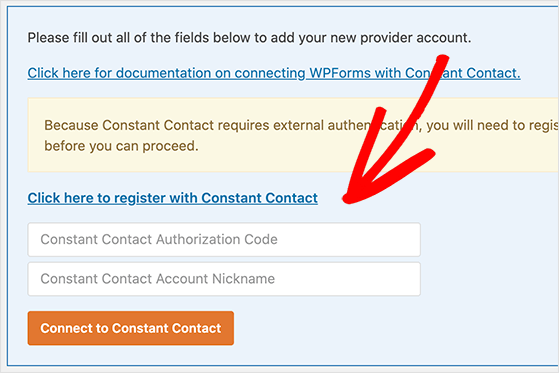
Doing so shows a section where you can enter the details needed to connect WPForms with your Constant Contact account. Click the link, “Click here to register with Constant Contact.”
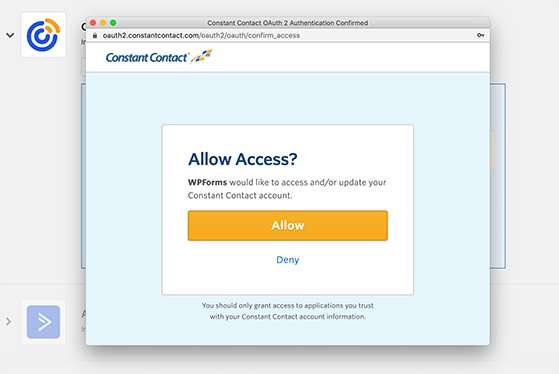
This reveals a popup window that asks you if you’d like WPForms to access your Constant Contact account information. Click the Allow button to grant access.
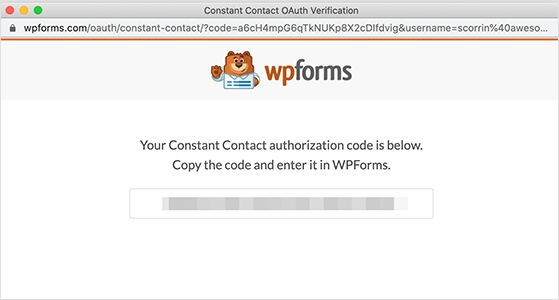
Next, you’ll see an authorization code you’ll need to copy.
When you’ve done that, return to the WPForms settings page, paste the authorization code, and give the connection a name.
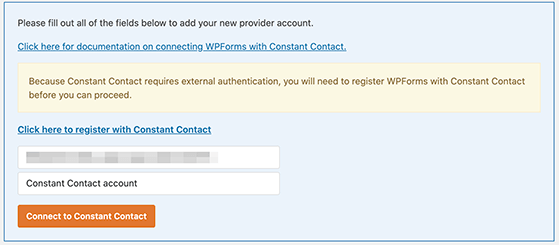
Now, click the Connect to Constant Contact button.
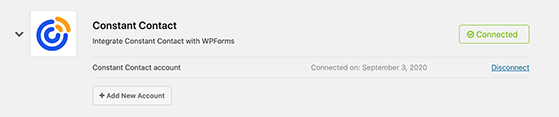
WPForms is now connected to your email list. You’ll see a Connected label next to the integration.
You’re now ready to create a newsletter sign-up form using WPForms.
To do that, navigate to WPForms » Add New to launch the form builder. Then give your form a title like “Newsletter Form” and select the Newsletter Sign-up Form template.
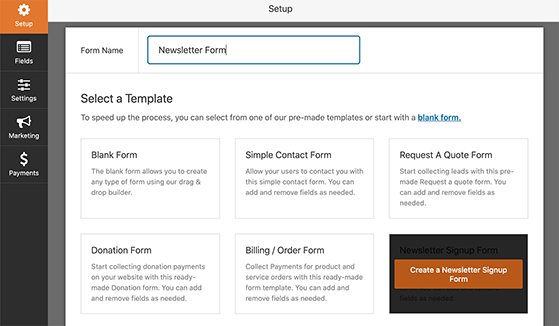
Choosing that template automatically loads a ready-made sign-up form with the required fields.
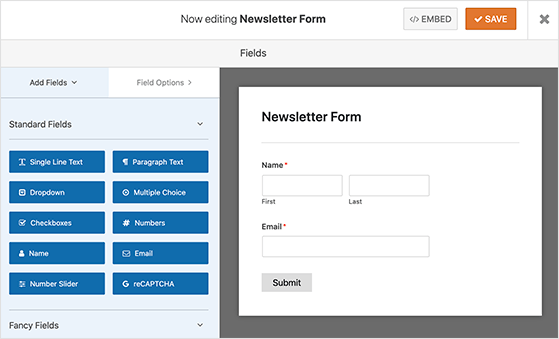
Editing your form is as simple as pointing and clicking on the element you wish to change. You can also add more fields to your form by dragging them from the left-hand panel.
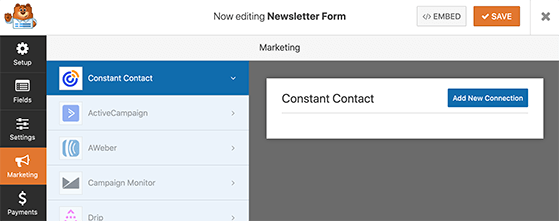
Once you’re happy with your form, click the Marketing tab to connect your form with your Constant Contact list.
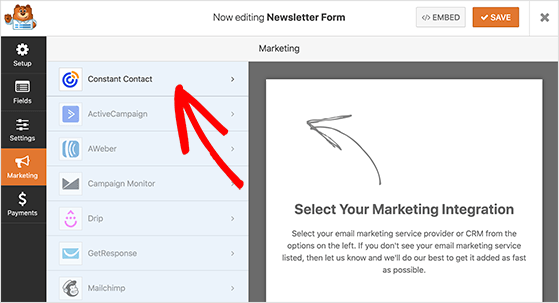
Go ahead and click the Constant Contact tab and the Add New Connection button.
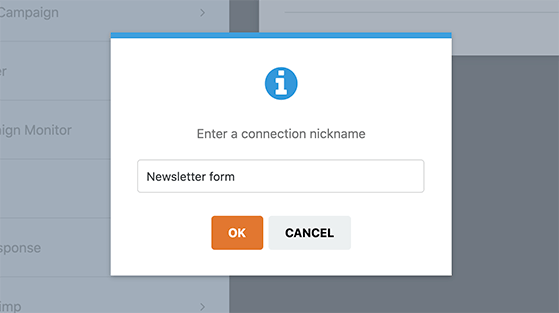
You’ll be asked to give the connection a nickname. You can add anything here and then click the OK button.
On the next screen, you’ll see the settings for your connection. It’ll automatically detect your Constant Contact account and display it under the Select Account drop-down menu.
Beneath that, you need to select an email list. Click the drop-down menu to choose the list you created earlier.
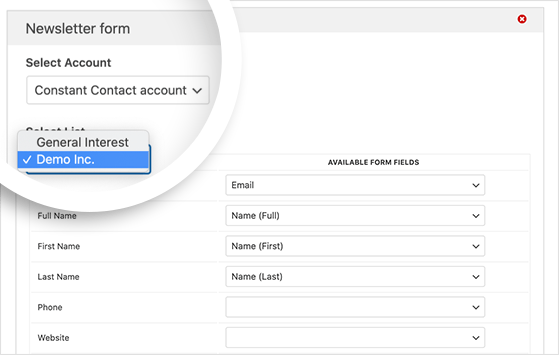
You need to map the Constant Contact fields to your WPForms fields by choosing an option from the drop-down menu for each field.
Once you’ve done that, click the Save button to save your sign-up form.
Besides being an excellent form builder, WPForms lets you add your sign-up form to almost anywhere on your website.
To add your newsletter form to your WordPress sidebar area, navigate to Appearance » Widgets and drag the WPForms widget over to your sidebar.
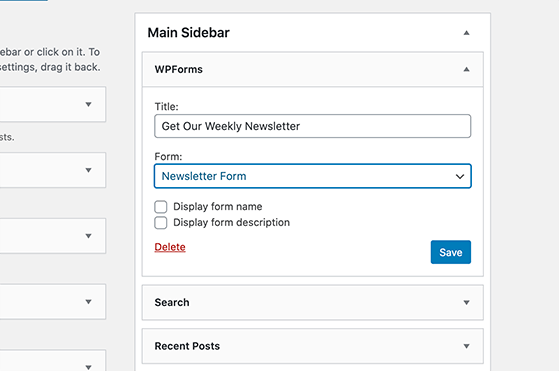
Then give your widget a title, and choose the form you just made from the drop-down list. Don’t forget to click Save to preserve your settings.
You can now visit your website to see your new newsletter sign-up form on your sidebar.
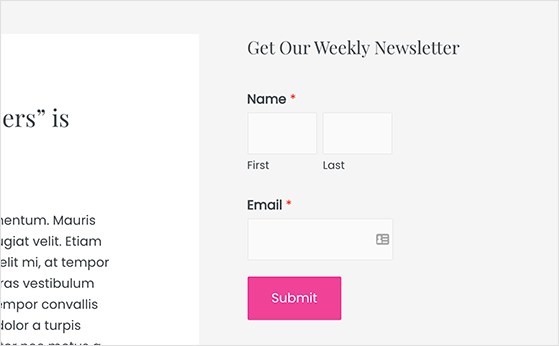
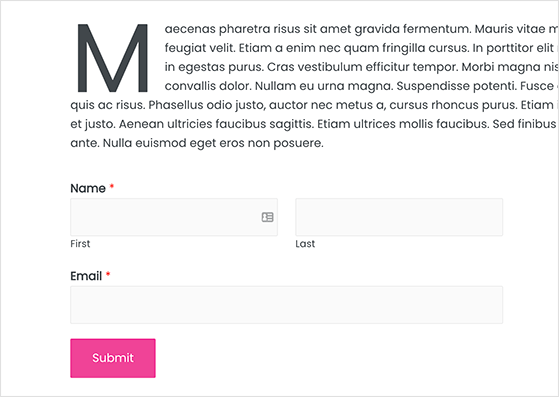
It’s also easy to add your sign-up form to a post or page in WordPress. Simply head to the page or post on which you want to show it, add the WPForms block, and choose your sign-up form from the list.
Now you can save or publish the post, and you’ll see your form in action when you preview it.
Method 2: Add a Newsletter Sign-up Form Using OptinMonster
For this method, we’ll use OptinMonster, the best lead generation software on the market, to help you explode your email list subscribers.
It includes tons of high-converting sign-up forms like 2-step optins, exit-intent popups, floating bars, and more. This gives you everything you need to optimize your email list quickly without having any technical skills.
OptinMonster has written a complete guide on how to create a Constant Contact popup. So follow the step-by-step instructions to create your sign-up form with OptinMonster.
Step 4: How Do I Send My First Email Newsletter?
Your first email campaign can go out in under an hour once your list has subscribers and you’ve picked a template.
Before you build your first email template, decide what you’re sending. Keep it to one main topic and write a subject line under 50 characters.
Add one clear call to action and use your brand or real name in the “From” field. Those are the four details beginners most often skip, and they make the biggest difference in whether people open and click.
Once your form is live and your list has subscribers, you’re ready to send a newsletter in WordPress.
To do this, log into your Constant Contact account, click the Campaigns link in the top menu and select the Create a Campaign button.
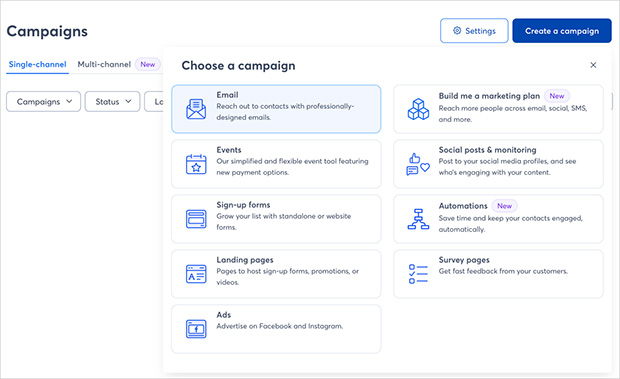
After clicking the Create button, you’ll see a popup asking you to choose an email campaign type. Choose the Email option.
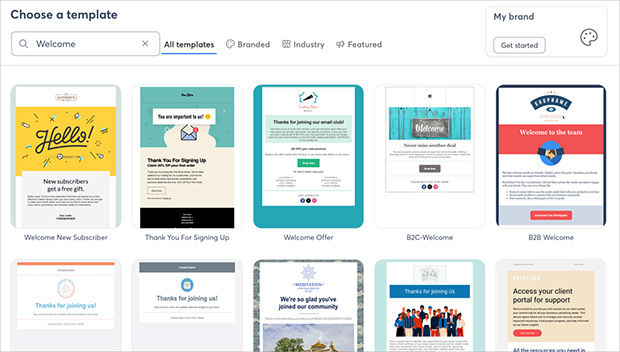
On the next screen, you’ll see a selection of email templates you can use as a starting point for your campaign. Let’s say you want to welcome your new email subscribers to your list. In this case, click the search icon and enter “welcome” to filter the templates to see welcome emails.
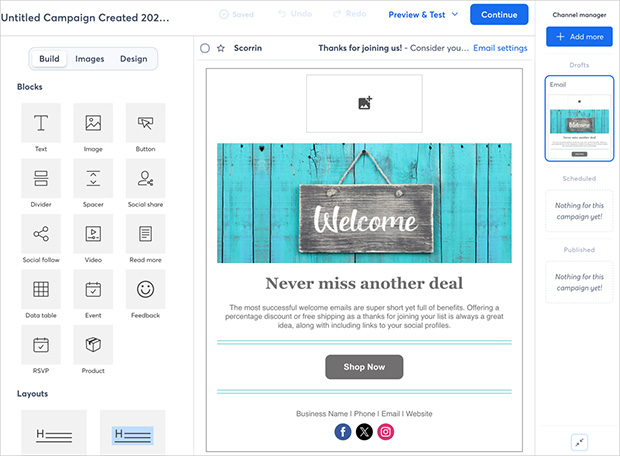
Simply click the template that suits your business best, and it’ll open in Constant Contact’s drag-and-drop email builder.
From there, you can start customizing your welcome email newsletter template.
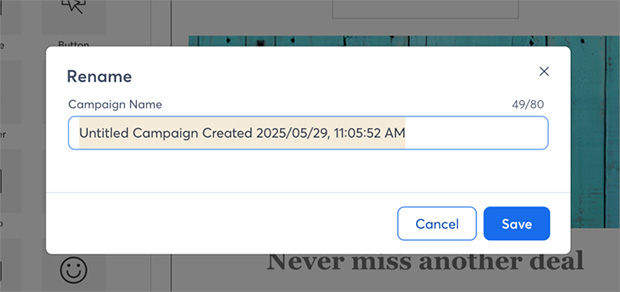
The best place to start is to give your email a title. This will help you identify the email if you need to edit or change it in the future.
Click the Untitled box in the top-left corner to edit your email’s title. Now enter a new name like “Welcome Email” and click Save to preserve your changes.
Then you can start editing the template. Since it’s a drag-and-drop email builder, you can drag any element from the left-hand panel and drop it onto your email. You can also point and click anywhere to edit existing elements on the page.
When you’re happy with your welcome email design, click the save button to store your changes, then click the Continue button.
Constant Contact’s email builder will now ask you to choose a list to send your email to. So, select the list you created earlier, then enter your physical address details.
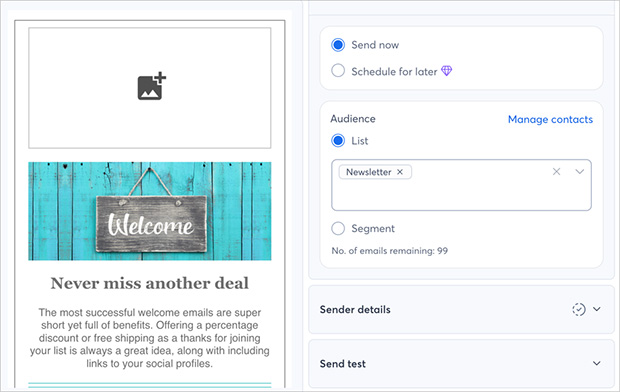
You need to add your physical address in each newsletter campaign because of anti-spam laws in some countries. You can either use your business address for this or a P.O. box.
The last step is to decide if you want to send your newsletter now or schedule it later.
It’s good practice to send your newsletters on a regular schedule. That way, users will come to expect your emails and can anticipate their arrival, improving your conversion rates.
After ensuring there are no typos, you can click the Schedule button at the top of the screen to save and schedule your email.
Congratulations, you’ve now successfully created an email newsletter!
Step 5: How Do I Grow My Email List After Launching?
Growing your email list after launch means adding more touchpoints where people can subscribe, and the fastest results usually come from multiple sign-up forms and a giveaway. Smart marketers continually promote their list to more people to boost click-through rates.
Here are a few tips to help you grow your email list:
Use Multiple Sign-up Forms
Most website owners add a single sign-up form to their sidebar, then forget about it. But if you add multiple sign-up forms to your site in different locations, including landing pages, footers, and after tutorials, you can dramatically increase your optin rates.
Just be careful your approach isn’t too aggressive, as this can put people off. Instead, use your forms in strategic places. For instance, you could have a standard form in your website’s sidebar and add a slide-in form that appears when users scroll down a blog post or page.
Experiment with different form types and placements to find out what works best.
Grow Your List With a Giveaway
RafflePress is a WordPress giveaway plugin designed to grow email lists fast. The refer-a-friend entry option rewards entrants with bonus entries for sharing your contest, which is what makes small lists grow quickly without paid ads.
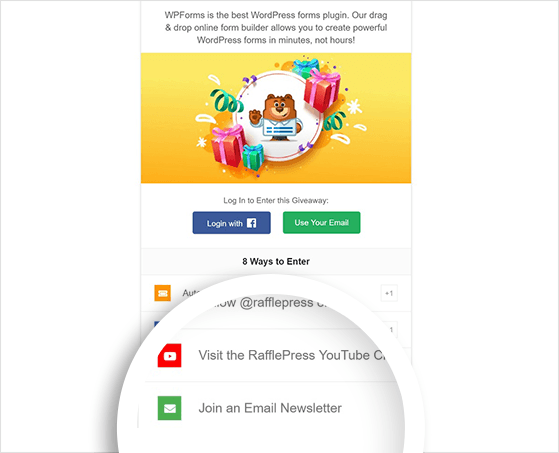
Knives Ship Free added over 5,000 subscribers to their list with a giveaway using this approach. You can get started at rafflepress.com/pricing and have a list-growth giveaway running the same day.
For a full step-by-step walkthrough, see our guide on how to run a giveaway to grow your email list.
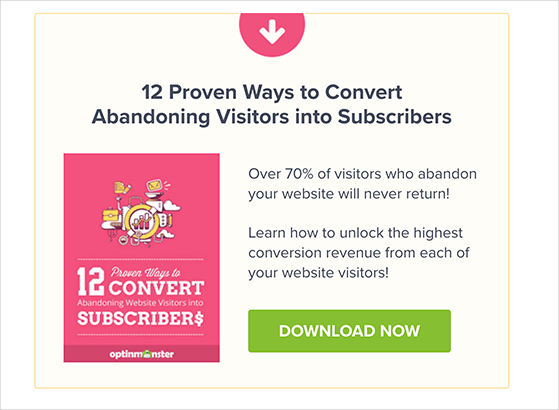
Create Lead Magnets to Grow Your List
Lead Magnets are special offers that incentivize people to join your email list. The offer could be a free ebook, checklist, cheatsheet, or discount coupon.
The reason why they work so well is that they offer immediate gratification for acting.
For even more tips to grow your email list, check out this guide.
Step 6: Track Your Newsletter Results
Once your first few newsletters are out, these four metrics tell you how it’s going. Most beginners either ignore them entirely or panic when numbers look off.
| Metric | What to Expect | What to Do If It’s Off |
|---|---|---|
| Open rate | 20–30% for small lists | Test different subject lines and “From” names |
| Click-through rate | 2–5% is normal | Add a clearer, single CTA per email |
| Bounce rate | Under 2% | Remove invalid addresses from your list |
| Unsubscribe rate | Under 0.5% | Review your content frequency or topic focus |
Once you have 3–4 sends of data, you can also look at which day and time gets the most opens. The difference isn’t huge, but it’s easy to test once you have a baseline.
Frequently Asked Questions
What is the best free email newsletter service for beginners?
Brevo is the best free option for beginners. The free plan lets you store unlimited contacts and send up to 300 emails per day, which is plenty when you’re starting out. The interface is straightforward and the free plan doesn’t expire.
How do I grow my email newsletter list quickly?
The fastest way to grow your email list is to add sign-up forms in multiple places on your site, not just the sidebar. A dedicated landing page, a pop-up after 30 seconds on the page, and a form at the end of each blog post can triple your sign-up rate. Running a giveaway with RafflePress can add hundreds of subscribers in a week.
What should I include in my first email newsletter?
Your first newsletter should cover one main topic, use a subject line under 50 characters, and include a single call to action. Use your name or brand in the “From” field and write as if you’re talking to one person. Don’t try to cover everything in the first send.
How do I send a newsletter from WordPress?
You don’t send newsletters directly from WordPress. Instead, connect an email marketing service like Constant Contact to your site using the WPForms plugin. WPForms adds sign-up forms that automatically send new subscribers to your Constant Contact list, and you create and send campaigns from there.
You don’t need a complex setup or a huge list to see results. Once you’ve learned how to create a newsletter in WordPress, you’ll have a direct line to your most engaged visitors.
You can also see our guide on How to Fix WordPress Not Sending Email to solve email deliverability issues.
If you’re interested in finding out if giveaways increase sales and subscribers, check this article out.
Want to grow your list even faster? RafflePress makes it easy to run a viral giveaway that adds new subscribers in days, without buying ads. Get RafflePress Now
If you liked this article, please subscribe to our YouTube Channel for RafflePress video tutorials. You can also find us on Twitter and Facebook.

