New Update: Boost Social Proof with Reviews & Automation
Introducing RafflePress's new leave-a-review giveaway actions. Boost customer engagement and build trust effortlessly by incentivizing reviews in WordPress.

New Update: Boost Social Proof with Reviews & Automation

 Stacey Corrin
Stacey Corrin
Stacey Corrin
 John Turner
John Turner
John Turner
I’ve set up Google Analytics on dozens of WooCommerce stores over the years. It’s one of the easiest ways to understand where your customers come from, which products they love, and what’s stopping them from checking out.
In this guide, I’ll show you exactly how to add Google Analytics to WooCommerce, no coding needed.
Google offers many free tools through its analytics platform. Those tools allow you to view the analytics data needed to optimize and improve your WooCommerce store.
Additionally, having Google’s tracking ID on your website helps it crawl and index your site correctly. That way, you can see data such as pageviews that will help you boost sales and increase conversion rates.
Even though there are several ways to optimize your WordPress site, adding your Google Analytics tracking ID to WooCommerce is the fastest way to track the data and progress of your online store.
If you don’t have any eCommerce data about your WooCommerce site or audience, you’ll be guessing what your target audience likes, which could be risky for your business. For example, you could advertise the wrong products or even promote deals your audience isn’t interested in.
You can avoid issues like that by tracking your WooCommerce store accurately with universal analytics from Google.
By setting up a WooCommerce Google Analytics integration, you’ll get the following tracking options and insights:
As you can see, there are many benefits to setting up Google Analytics on your WordPress website. Let’s dive in and learn how to set up WooCommerce Google Analytics for your online store.
There are many ways to connect WooCommerce to Google Analytics. However, the easiest method is to use MonsterInsights, the best WooCommerce Google Analytics plugin.
MonsterInsights integrates effortlessly with WooCommerce, allowing you to add Google Analytics tracking info with a few clicks. You won’t need to edit any code or hire a developer and can see real-time reports inside your WordPress admin.
To add Google Analytics to WooCommerce, follow these steps:
Note: If you’ve switched, you can follow this guide to add Google Analytics 4 to WordPress.
The first step is to get the MonsterInsights plugin and install it on your WordPress website.

As mentioned above, MonsterInsights is the best Google Analytics plugin for WordPress. It offers many features and reports you can view from your WordPress dashboard.
This plugin makes it super-easy to add new Google Analytics global site tags to your website without coding. Plus, you can set up advanced tracking, such as purchase transactions, coupon referrals, and more, which isn’t available on the default analytics platform.
To set up WooCommerce store tracking, you’ll need a MonsterInsights Pro plan. Then, install and activate the plugin on your WordPress website after downloading the plugin to your computer.
If you need help with this step, here’s a guide on how to install a WordPress plugin.
After installing the MonsterInsights plugin .zip file, go to Insights » Settings from your WordPress dashboard, and enter your license key.

Then, click the Verify button to confirm your license.
Now that MonsterInsights is live on your website, it’s time to install and activate the MonsterInsights eCommerce addon. The functionality of this addon tracks your WooCommerce sales and website performance automatically.
To install the addon, go to Insights » Addons and find the eCommerce section. Then click Install Now to install and automatically activate the addon.

It’s as simple as that, with no other steps required.
One of the best things about MonsterInsights is seeing how your WooCommerce store is doing inside your WordPress dashboard. This powerful WooCommerce plugin pulls the most important reports from Google Analytics and shows them on your website.
That means you won’t need to go anywhere to view them. It’s also helpful if you’re new to Google Analytics and don’t know where to find the different reports.
To view the data about your online store, go to Insights » Reports » eCommerce from your WordPress dashboard.

On this page, you can see your site’s:
You can also select a date range for the report and view a comparison to the last time period. As a result, it’s easy to see if your site’s performance has improved or worsened.
Now scroll to the following report, where you’ll see your site’s Top Products. These are the best-selling items in your store.

Some other reports you can view include:

As you can see, MonsterInsight’s smart reporting system instantly makes it super easy to get a snapshot of how your WooCommerce store is doing. So after setting up Google Analytics on your store, you’ll have an easier way to find areas where you can make improvements.
If you want to see your eCommerce report in Google Analytics, go to Monetization » Overview. On this screen, you can see:

To see eCommerce sales (purchases) and revenue data organized by channel in Google Analytics, head to Acquisition » Traffic acquisition.

From there, scroll to the table on the right and find Conversions and Total Revenue. Now, click the All Events drop-down arrow under Conversions and click purchase.

After you’ve done that, the table will show total purchases and revenue by traffic channel.

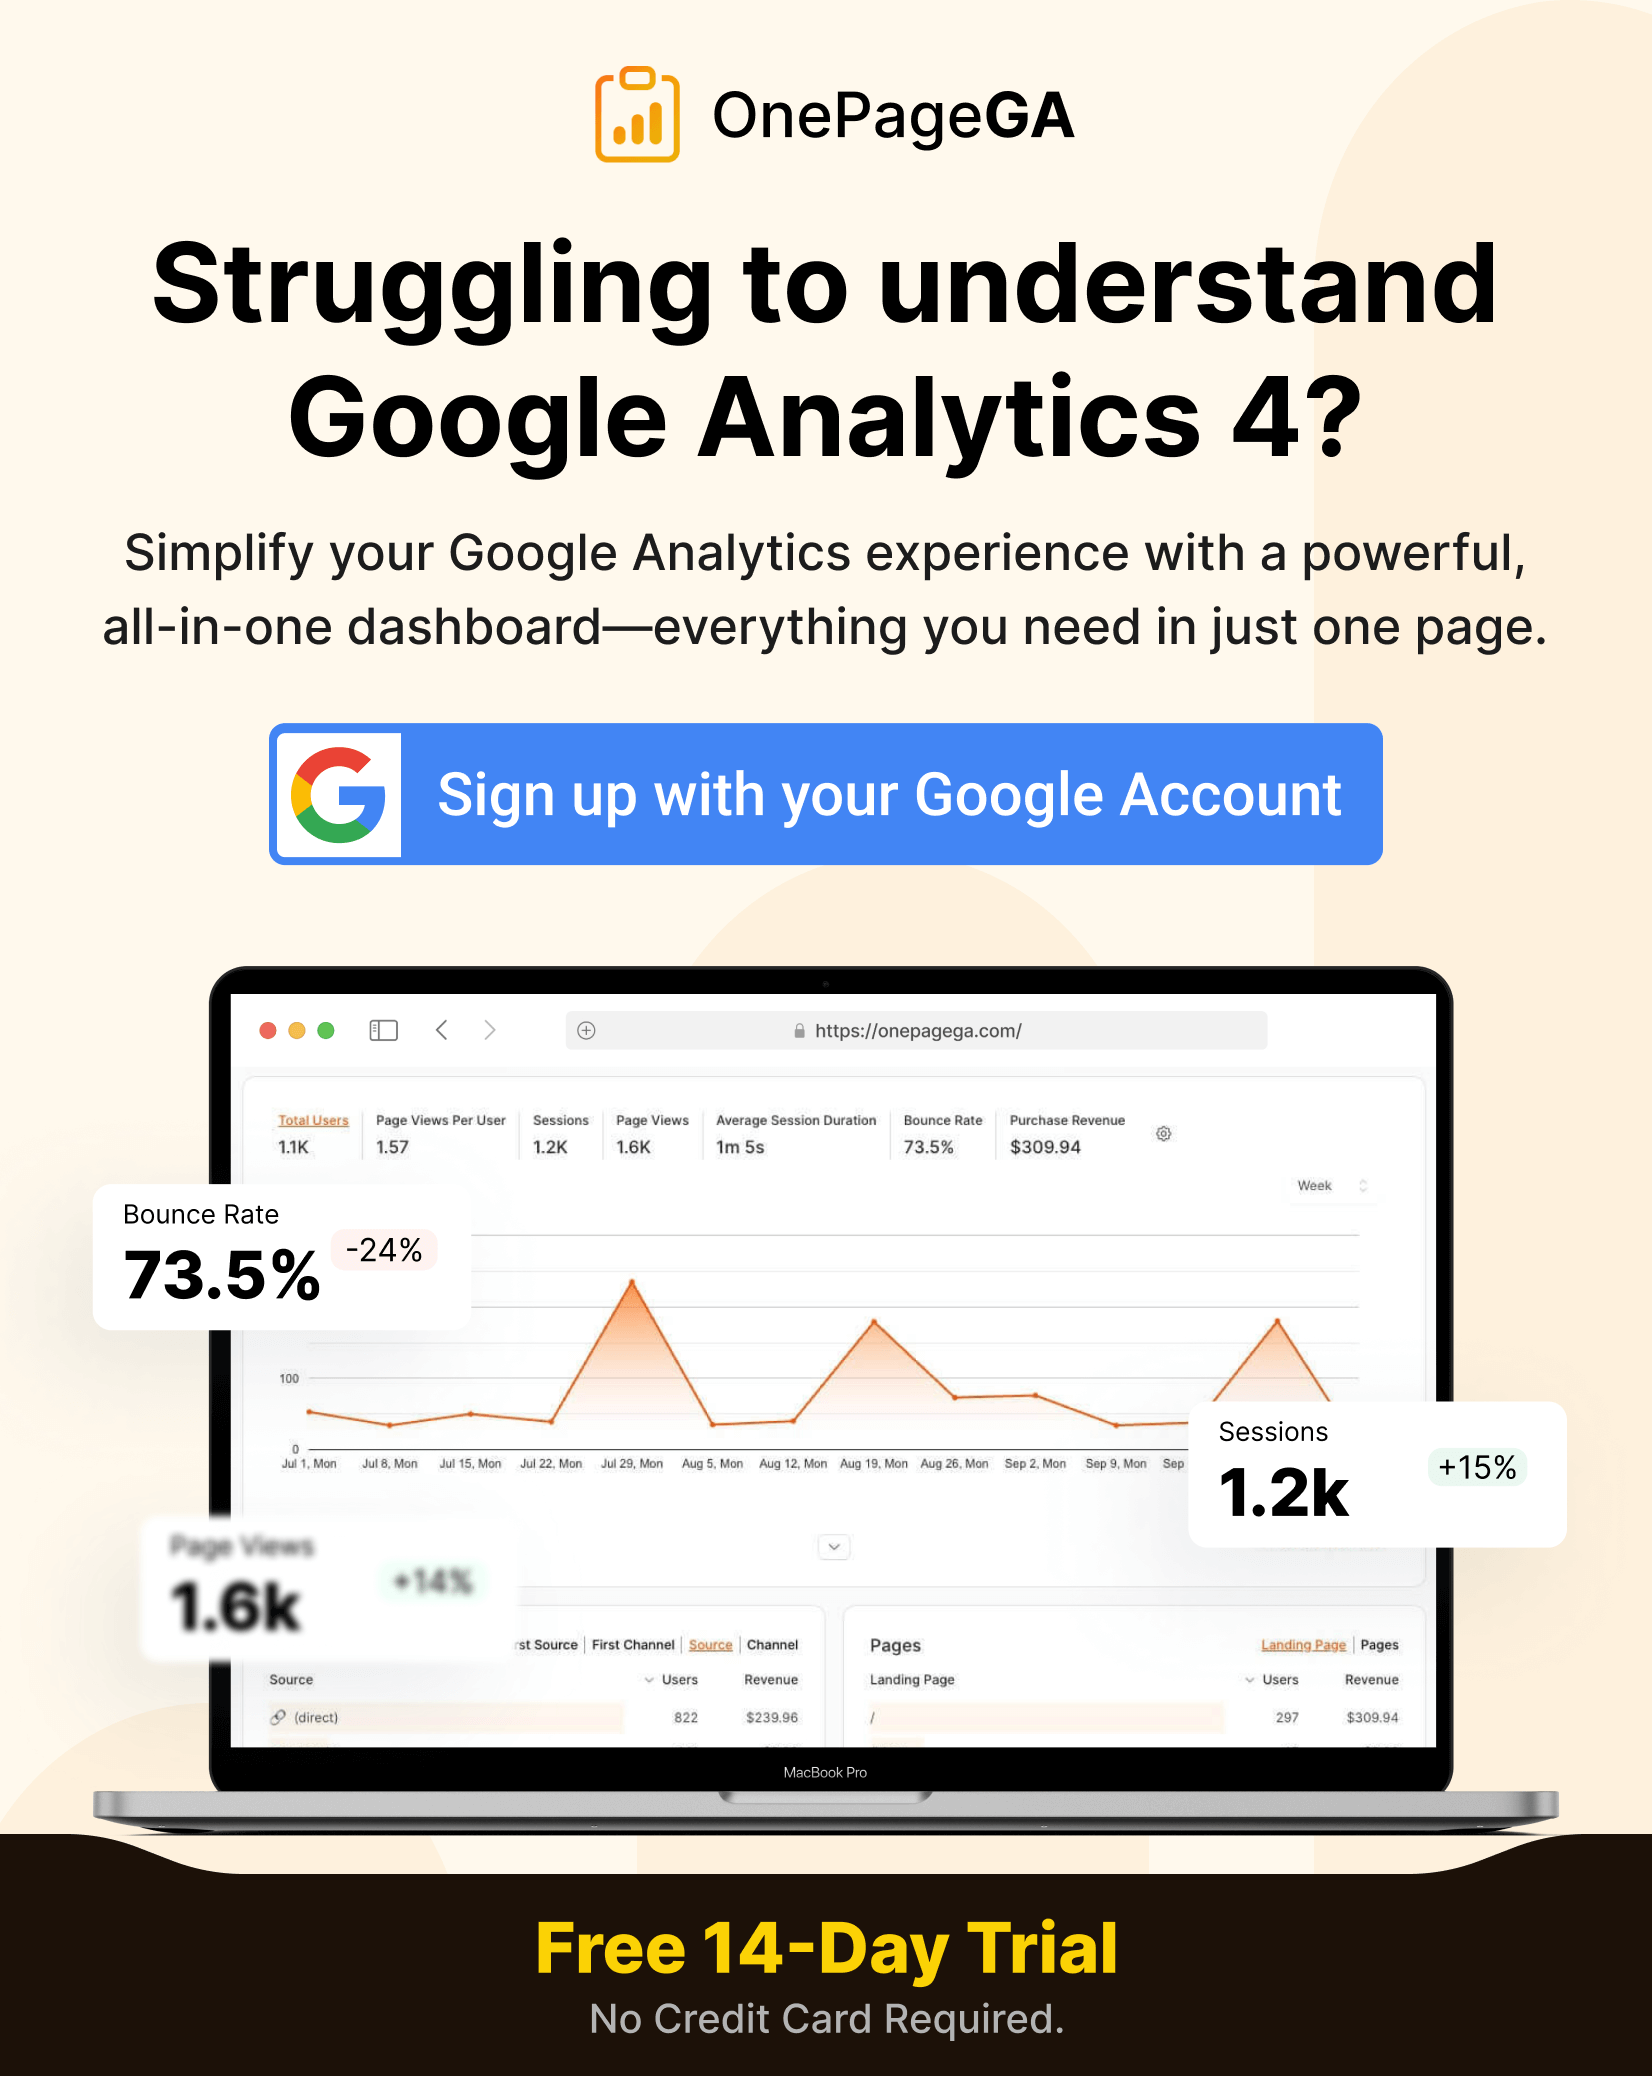
MonsterInsights is a powerful tool, but if you’re looking for an easier way to monitor your website’s performance — whether it’s an online store, a blog, or anything else, then OnePageGA might be just what you need.

It gathers the most critical data, like your website traffic, conversion rates, key engagement metrics, and top-performing pages, and presents it all on a single, easy-to-digest page. This lets you quickly see what’s working and what’s not without getting lost in complex reports.

OnePageGA also tracks key traffic acquisition data, showing you where your visitors are coming from so you can fine-tune your marketing efforts. Best of all, it works with any website platform, giving you the flexibility to use it no matter how your site is built.
Get started with a 14-day free trial of OnePageGA.
There you have it!
We hope this article helped you learn how to easily add Google Analytics to WooCommerce. You might also like these best eCommerce marketing tools to scale your store.
If you liked this article, please subscribe to our YouTube Channel for RafflePress video tutorials. You can also find us on Twitter and Facebook.


Disclosure: Our content is reader-supported. This means if you click on some of our links, then we may earn a commission. We only recommend products that we believe will add value to our readers.
Comments are closed.
Copyright © 2024 SeedProd LLC. RafflePress® is a registered trademark of SeedProd LLC
Thanks for sharing. I absolutely loved your Article.
We’re glad you found it helpful.