New Update: Boost Social Proof with Reviews & Automation
New Update: Boost Social Proof with Reviews & Automation

 John Turner
 John Turner
Want to create a custom WordPress theme that’s designed exactly for your business, blog, or online store? Off-the-shelf themes can feel cookie-cutter, but building your own lets you match every detail to your brand, from colors and fonts to page layouts and features.
In this tutorial, I’ll walk you through how to build a custom WordPress theme from scratch without touching code, using a beginner-friendly visual editor. By the end, you’ll have a unique theme that works perfectly on desktop and mobile, loads fast, and reflects your style.
Quick steps to create a WordPress theme without code:
Most websites use the same free or paid themes right out of the box. While these are quick to set up, they often look generic and limit your design options. Creating a custom WordPress theme lets you control every detail so your site feels unique and built for your audience.
Here are the biggest reasons to design your own theme:
In short, a custom WordPress theme helps you stand out in a crowded online space and gives you the tools to grow your traffic, leads, and sales.
Most WordPress themes are made with HTML, CSS, PHP, and JavaScript coding languages. Learning these languages takes time and training, which isn’t realistic for many website owners.
That means one of your only options is to hire a developer or development agency to build a custom theme for you. Consequently, the cost of a custom WordPress site can run into thousands of dollars.
Another option is to use SeedProd to create your own custom WordPress theme. This powerful WordPress plugin comes with an easy drag-and-drop interface that anyone, even beginners, can use to customize every aspect of your WordPress theme.
SeedProd is the most user-friendly website builder plugin for WordPress.

It includes extensive customization options and offers a wide variety of features, including:
Previously, you could only use SeedProd to build landing pages within your existing theme. But after several game-changing updates, you can create entire WordPress themes with the same drag-and-drop builder.
That means you can customize your website from top to bottom without coding, so let’s find out how to do it.
For this tutorial, we’ll assume you already have a WordPress site hosted on a domain. If you don’t, you can follow this step-by-step guide on creating a WordPress website.
Because SeedProd replaces your current WordPress theme with the one you’ll create from scratch, we suggest using a development environment. That way, your changes won’t affect your live website until you’re ready to publish them.
Popular WordPress hosting services like Bluehost offer staging and development environments with their hosting packages.

As well as creating a staging environment, ensure you back up your site before getting started. This will make sure you can restore your website if anything goes wrong. See this post for the best backup plugins for WordPress.
After preparing the above, you can start building your custom WordPress theme by following the steps below.
For the first step, you need to install and activate the SeedProd plugin on your WordPress site. Follow this detailed guide on installing a WordPress plugin if you need help with this step.
You’ll need to choose the SeedProd Pro license to unlock the Theme Builder feature. This will give you a license key you can enter on the plugin’s settings page.
To find your license key, log into your SeedProd account, click the Downloads tab, and then click the copy icon to save your key to your clipboard.

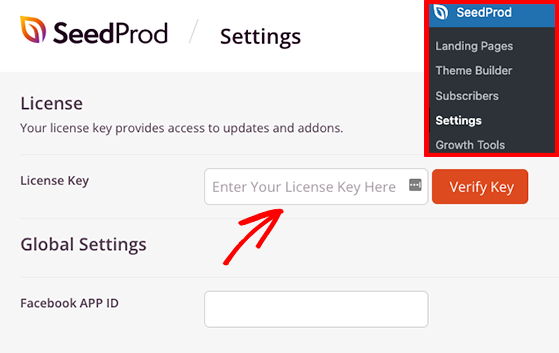
Afterward, go to your WordPress admin, navigate to SeedProd » Settings, and paste the key into the ‘License Key’ field. Then click the Verify Key button to save your changes.
Now, go to the SeedProd » Theme Builder page, where SeedProd will display the different elements of your theme.
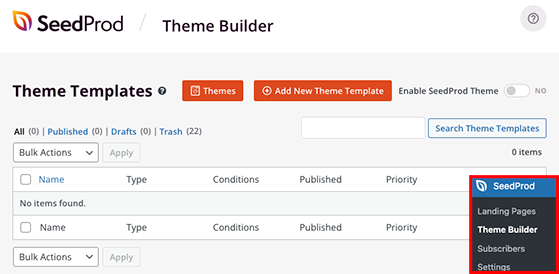
There are 2 different ways to create a custom WordPress theme with SeedProd. You can create each part of your theme from scratch, or you can use a pre-made template and customize each part to suit your website needs.
Each WordPress theme consists of multiple parts called template files, including:
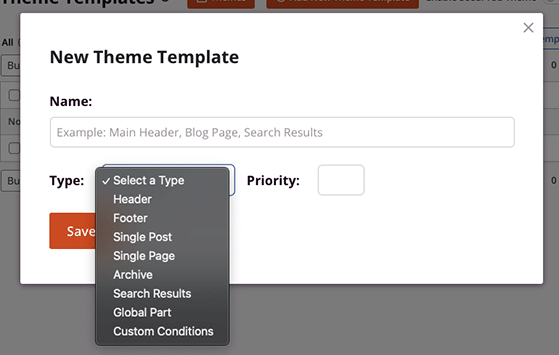
This can be quite overwhelming if it’s your first time creating a theme from scratch. Because of that, we recommend starting with a pre-made theme template.
SeedProd has various responsive theme templates that set up your theme structure with a single click. It generates each template file automatically but also lets you edit each file with your own customizations.
For the rest of this guide, we’ll use a theme template to show you each step of the customization process because it’s the most beginner-friendly approach to building a custom theme.
To view all of SeedProd’s theme templates, click the Themes button.
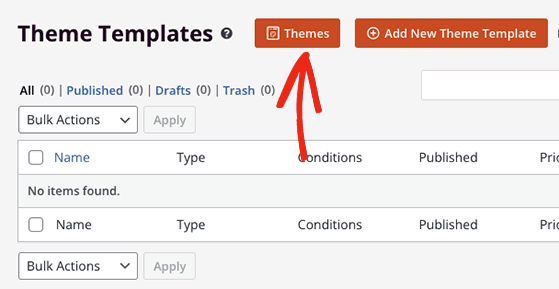
A window will open showing themes for different types of websites, including portfolios, travel, WooCommerce stores, real estate, events, and more.
We’ll use the Starter Theme for this tutorial, so hover your mouse over the theme’s image, and click the orange checkmark icon.
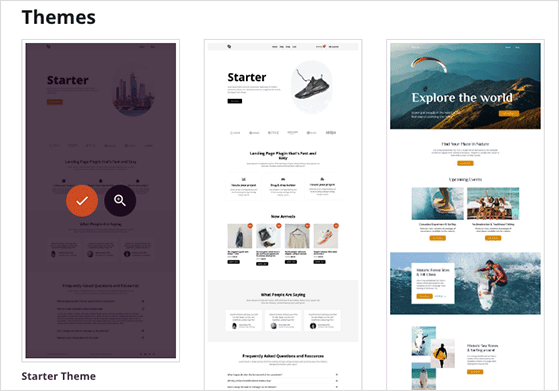
As soon as you click to import the theme template, SeedProd will generate the theme parts automatically.
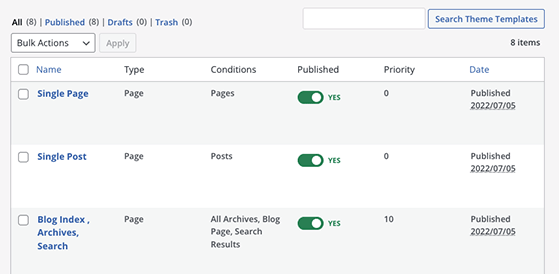
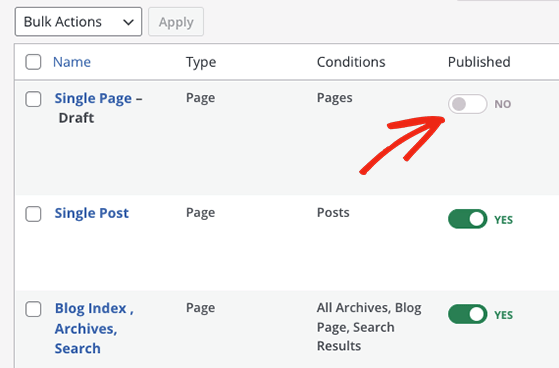
If you don’t need a specific theme part, turn it off by clicking the toggle under the Published heading to the ‘No’ position.
You can also change the conditions of each part by clicking the ‘Edit Conditions’ link.
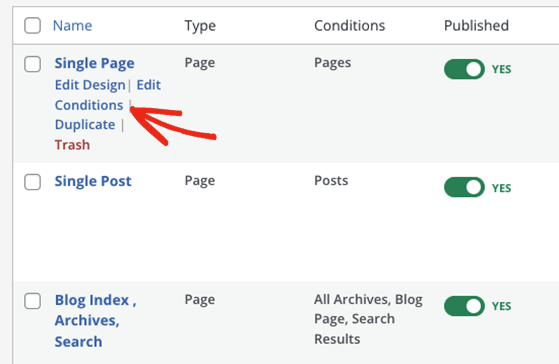
That will open a window where you can choose the part’s name, type, priority, and where the part should appear on your website.
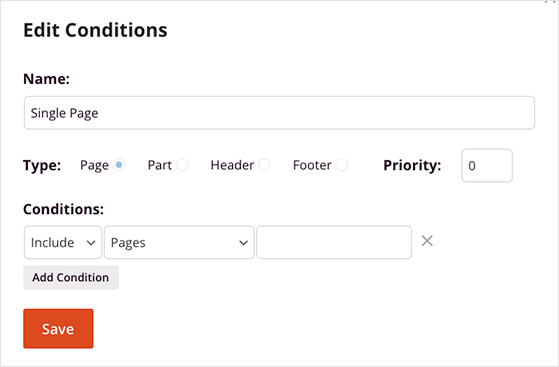
In many cases, you won’t need to change these settings and can jump right into customizing how each part looks.
Now that the essential parts of your theme are set up, you can customize their designs to look the way you want. To edit a template file, hover your cursor over it and click the ‘Edit Design’ link.
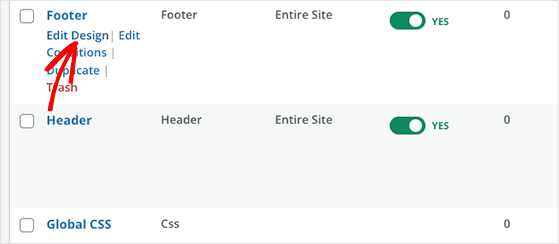
We’ll customize the Header, Footer, Home, and Blog parts for this guide. Customizing the other theme parts follows the same principles.
To customize your header, move your cursor over the Header template and click Edit Design.

On the following screen, you’ll see SeedProd’s theme builder interface. You can point and click anywhere on the live preview to see each element’s settings in the left-hand panel.
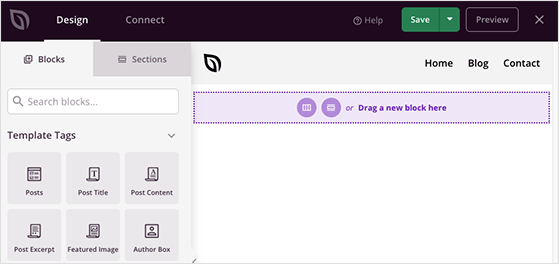
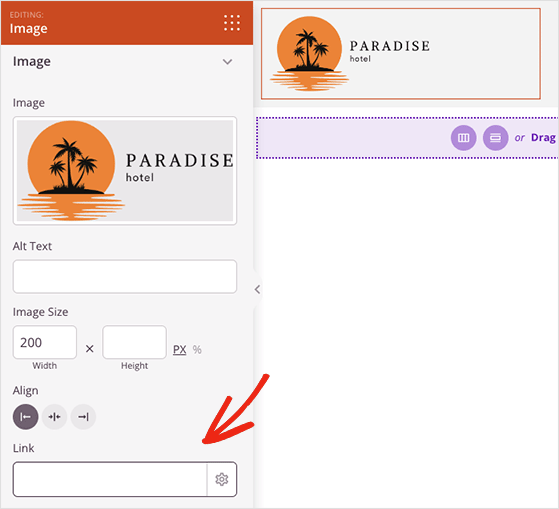
Let’s start by clicking the default SeedProd logo to open the Image block settings. In the content settings panel, you can click the trashcan icon to delete the default image and upload a new logo from your computer or WordPress media library.
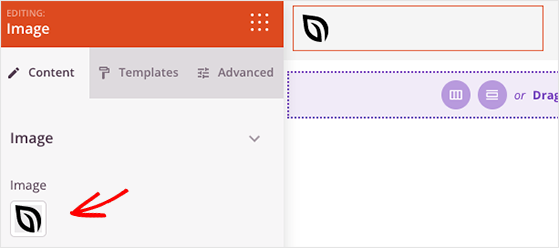
In the same panel, you can change the image size, alignment and give your logo a custom link. For instance, you can redirect visitors that click your logo to your homepage.
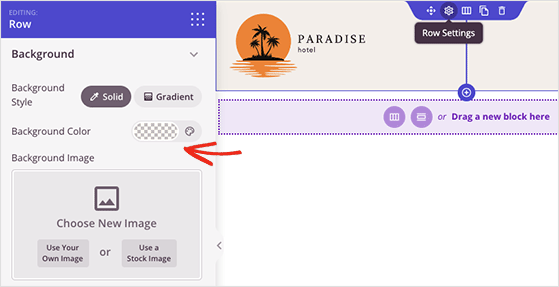
You can also change your header background color by clicking the row settings icon. From there, you can add a background image, color, or custom background gradient.
Next, click the menu block on your live preview to customize your navigation menu. SeedProd uses the Nav Menu block for this section by default, which has 2 different menu options:
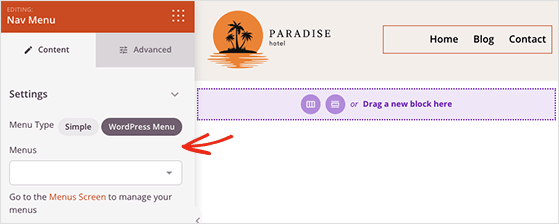
After choosing your menu type, you can click the Advanced tab and change the menu link colors, typography, styles, and more.

When you’re happy with your header design, click the Save button in the top-right corner and click the ‘X’ icon to exit to the theme builder.

Now, you can follow the same steps to customize your WordPress footer, and when you’re done, you can move on to editing your homepage.
Your website homepage is your site’s front page and typically includes essential elements that define your business. For example, details about who you are, what you do, reviews and testimonials, and contact information.
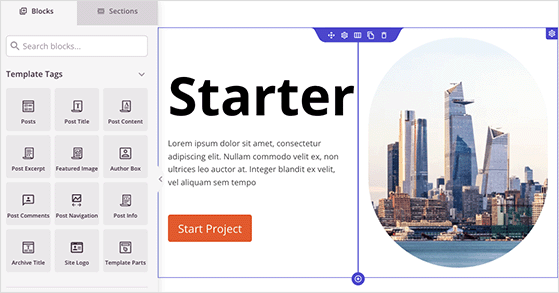
The template we’re using includes the following homepage sections:
You can change every aspect of this page, including the layout, images, content, buttons, and more. Take a look at this quick example to see how easy it is to edit different parts of your homepage:
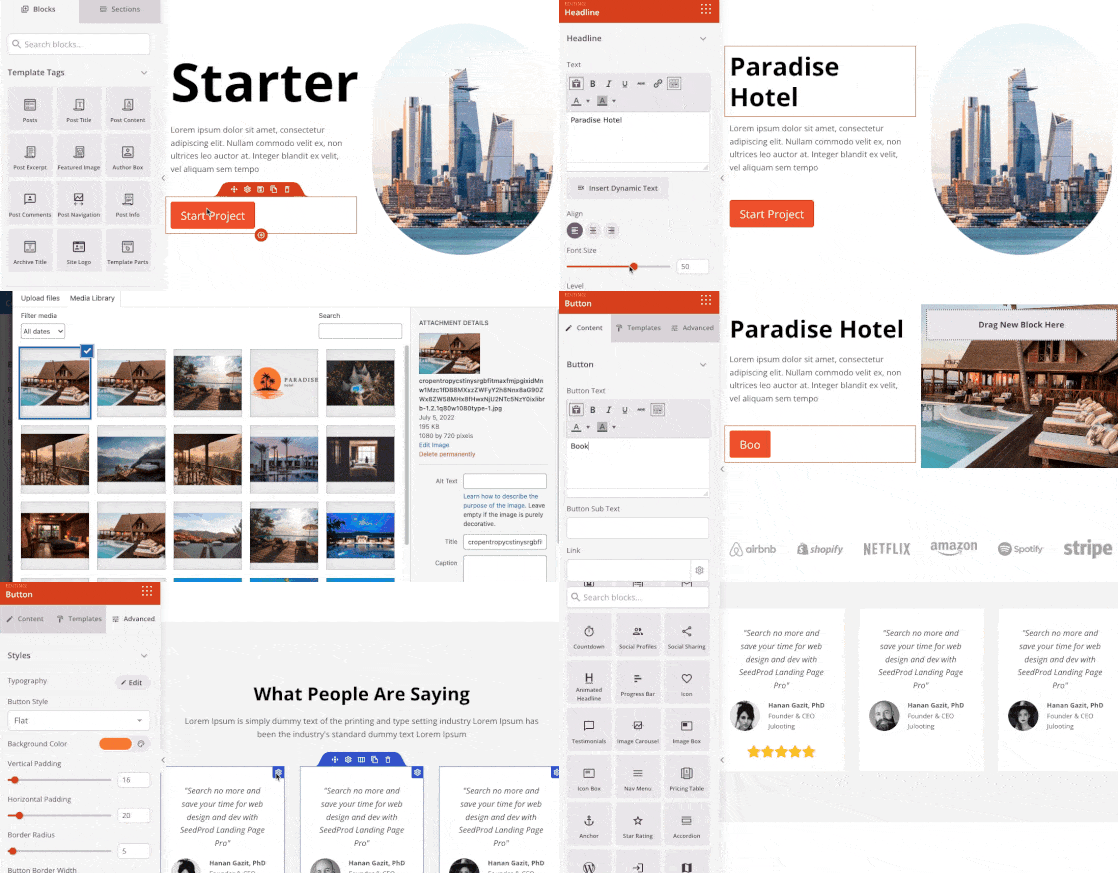
You can use the blocks and sections on the left-hand side to edit your homepage until you’re happy with how everything looks. For instance, you can add star ratings, google maps, search forms, and many other website elements.
It’s also important to check the mobile version of your homepage.
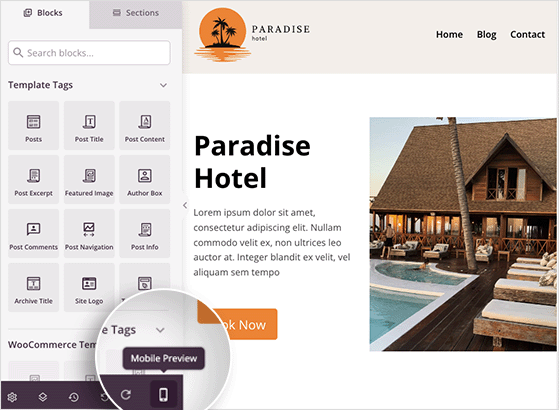
If the mobile version of your site doesn’t look right, you can continue editing it until it looks perfect.
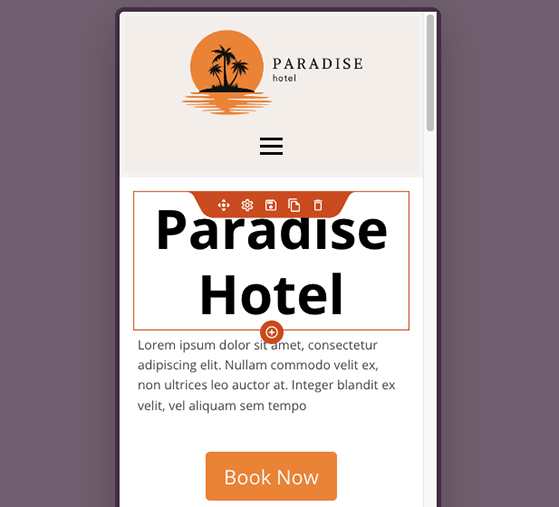
When you’re happy with your homepage design, save your changes and return to the SeedProd theme builder dashboard.
The next theme part we’ll customize is the blog page. From the theme builder dashboard, look for the Blog, Index, Archives, Search heading, and click the Edit Design link.
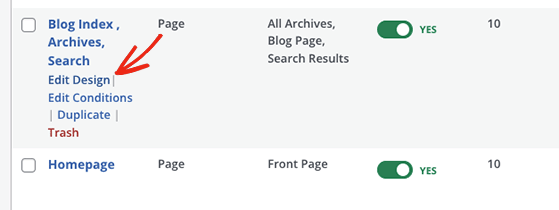
On this page, you can add, remove, and move different elements, such as your blog post content, featured image, excerpt, and author bio.
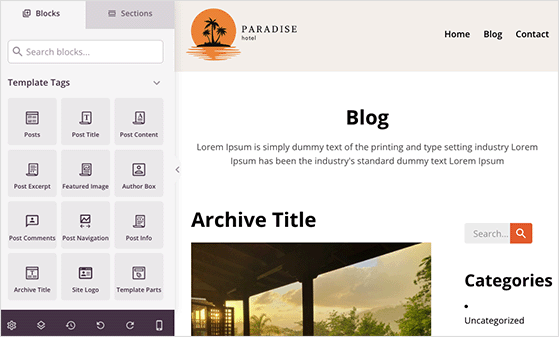
By default, this template uses the Posts block to show a list of recent blog posts, so click it to show the different settings you can configure.
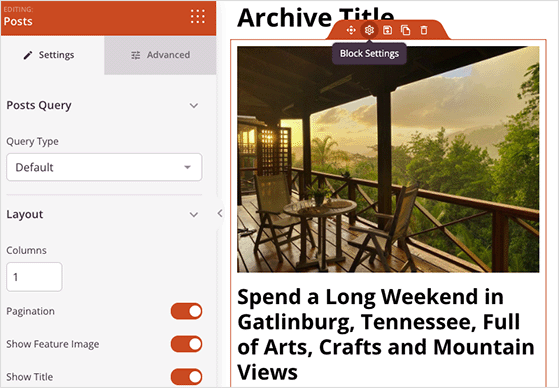
In the Posts settings panel, you can choose the type of blog post to display and show or hide information like the pagination, meta, author details, comment count, and more.
After customizing your blog page, click the Save button and return to the theme builder dashboard.
The last template part we’ll look at controls the global styling settings for your theme buttons, colors, typography, and layout. Look for the Global CSS part and click the Edit Design link to open the settings.
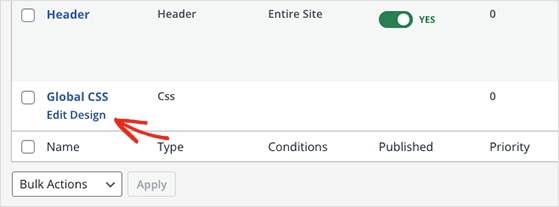
You can expand each tab on this screen and customize the different settings.
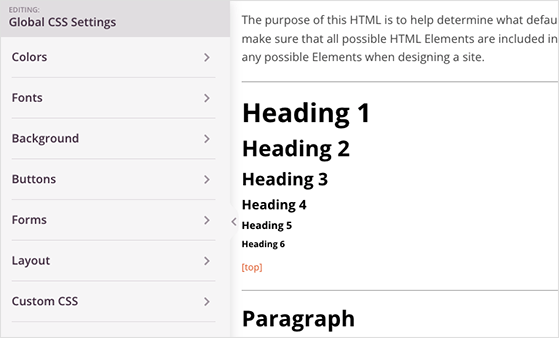
For example, you can open the Button tab and customize the default style of every button on your website.
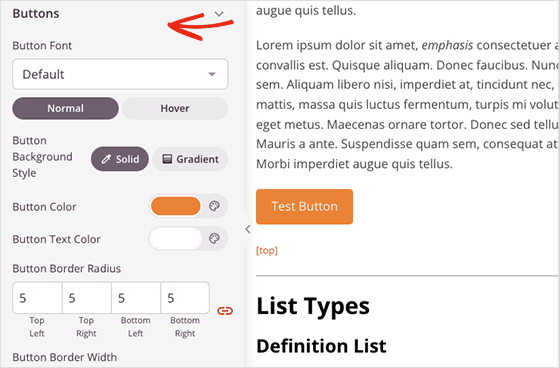
Additionally, you can change the fonts, layout, and background and add custom CSS to your WordPress theme. Each change you make is applied across your whole website automatically.
Remember to click the Save button to save your changes before moving on.
If you’ve used the opt-in form or contact form block in your theme design, you’ll need a way to add new contacts to your email list. Luckily, SeedProd integrates directly with popular email marketing services to make this easy.
You can find SeedProd’s email integrations by clicking the Connect tab when editing any design. From there, you can find your email marketing service and follow the on-screen instructions to connect.
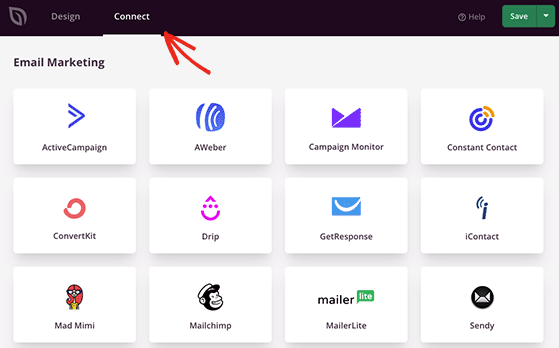
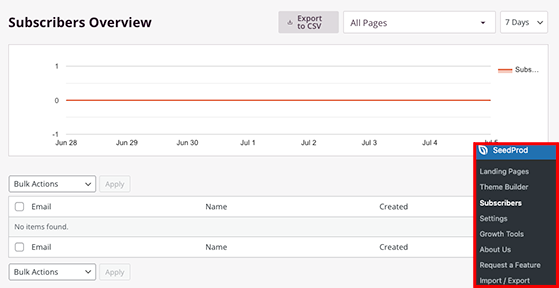
Besides integrating directly with email services, SeedProd can store contacts in its built-in subscriber dashboard. This is helpful if you’re starting to build your email list and haven’t picked a provider yet.
Now that you’ve customized your custom WordPress theme, it’s time to make it live on your website. To do that, head to the theme builder dashboard and turn the toggle next to the Enable SeedProd Theme heading to the ‘On’ position.

After, you can go to your website’s front end and see your new custom WordPress theme.

I hope this post has helped you learn how to create a WordPress theme from scratch without coding.
Did you know that SeedProd also includes a RafflePress block? Adding RafflePress giveaways anywhere in your custom theme design makes it super easy to boost traffic, leads, and social media followers.
Ready to dive in?
Get started with SeedProd here and get your copy of RafflePress here.
If you liked this article, please subscribe to our YouTube Channel for RafflePress video tutorials. You can also find us on Twitter and Facebook.
Disclosure: Our content is reader-supported. This means if you click on some of our links, then we may earn a commission. We only recommend products that we believe will add value to our readers.
Copyright © 2024 SeedProd LLC. RafflePress® is a registered trademark of SeedProd LLC